

How To Draw A Line In After Effects How To Draw A Line In After Effects Stroke
Create authentic-looking text that writes itself onto the screen by following this Afterward Furnishings tutorial.
A hand-drawn design artful can brand your video text announced trustworthy and personal. If yous're creating a YouTube video introduction, making an animated version of an existing logo, or simply hoping to turn your signature into a proper noun that writes itself, it'south handy to know how to create text that writes on in After Furnishings.
In this example, we'll be applying the event to text in a handwritten-style typeface. However, once you know how to follow these steps, you tin can easily utilise the same procedure to draw on whatever chemical element in a video. You can use information technology on whatever font or whatever putter with a consequent line width.
- Create your text.
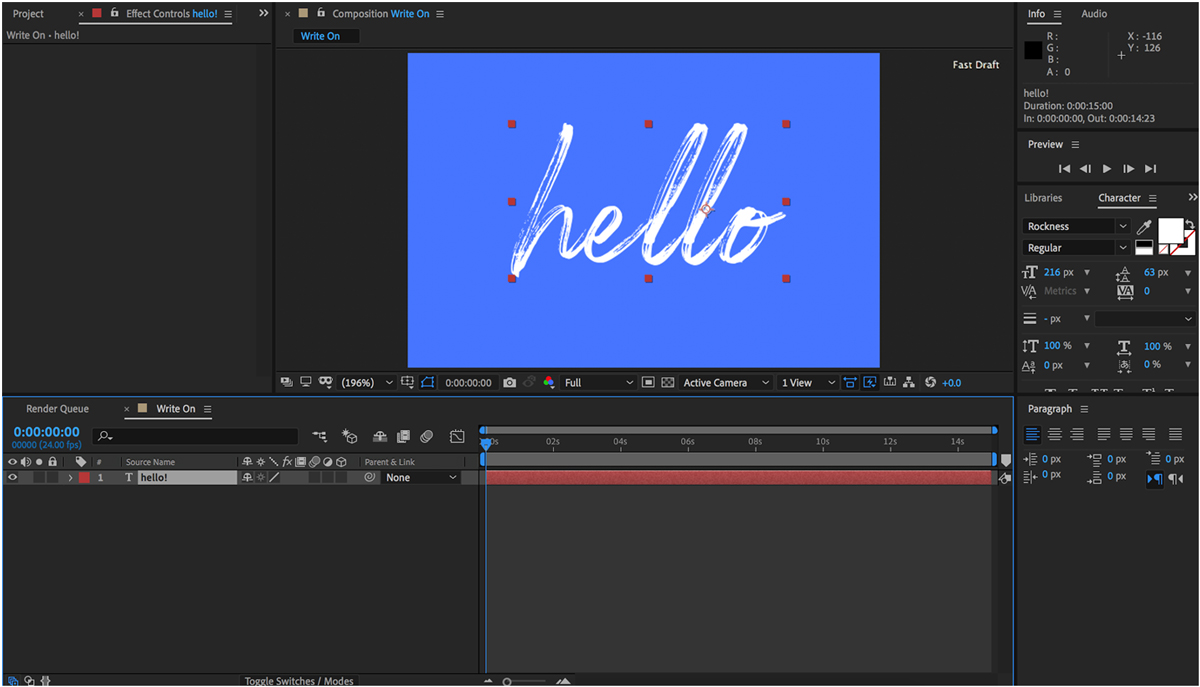
This tutorial volition work with whatsoever sort of text. You can brainstorm by typing your words in any font, only a typeface reminiscent of handwriting will requite the most authentic last effect. To practice this, click on the text tool (), draw on a big box, and adjust the settings in the character window until y'all have the desired font, size, and spacing.
For this tutorial, I am using a font chosen "Rockness" with a size of 200 on a bluish canvas that is 540 by 360 px.
Yous can too apply an paradigm of your own handwriting, if you've created an illustration or signature in Illustrator, Photoshop, or even a piece of newspaper. For this pick, a .png with a transparent background volition probably work all-time.
Once your text is created, it's time to become started.
- Apply an issue called "stroke".
In the effects and presets panel, select an outcome from the "generate" folder chosen "stroke." Drag information technology to the text layer you created in Pace I. (You can larn more almost stroke, and the other generate effects, by checking this handy guide.)
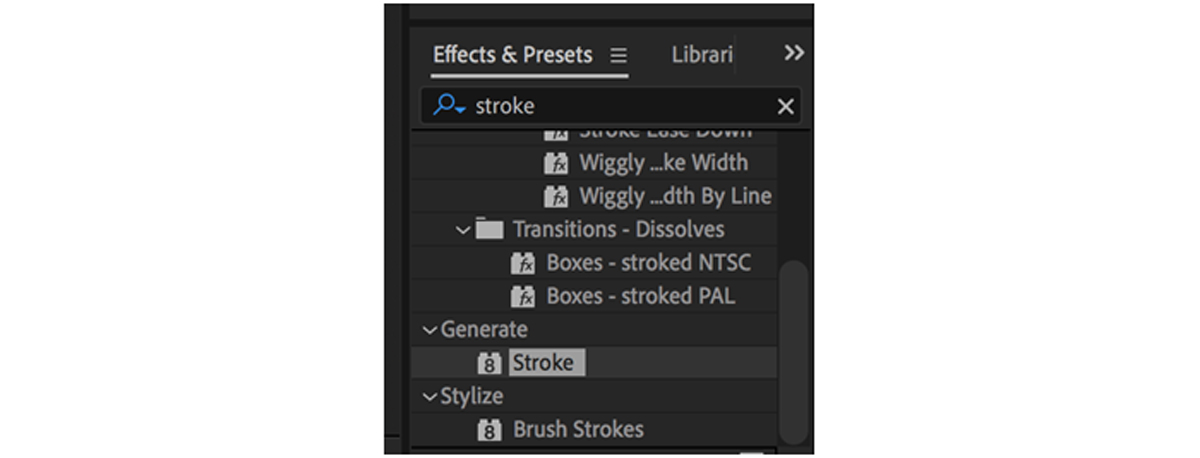 Type "stroke" into the search bar to notice it faster.
 - Using the pen tool, create masks in the shape of each letter.
With this same layer selected, click the pen tool and begin drawing lines that follow each segment of the text. If your text is in cursive, it is okay to use 1 line/mask for the unabridged word. Work in order from the offset of the word to the stop, making sure to make separate lines for the crosses on T's and dots on I's.
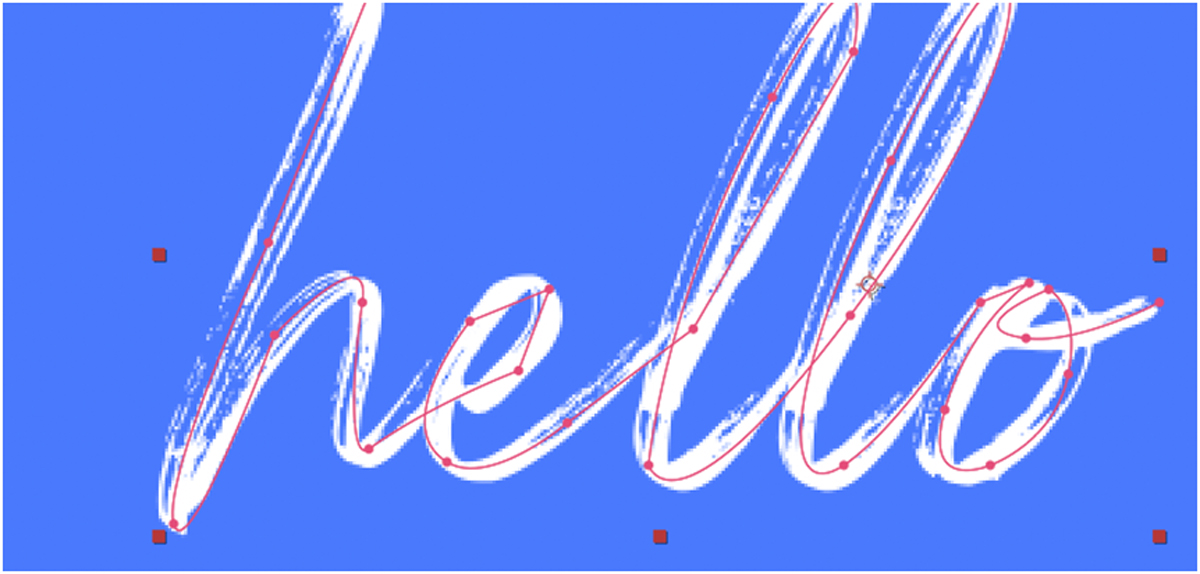 Hold downwardly your cursor to create a curved line, similar I did for most of the letters higher up.
 If you accidentally draw your masks in not-sequential order, elevate the mask layers in the timeline window to put them back in order. This will be important later.
- Accommodate the stroke thickness until the font is covered.
Open up the effect panel to run into the settings for the stroke outcome we applied in Step Two. In this panel, make sure the "all masks" and "stroke sequentially" boxes are checked. Then, select a crazy color for your stroke—this will exist invisible, so only choose something that makes it like shooting fish in a barrel to see.
 To make it easier to see, I am using this lime green color as my stroke.
 At present begin increasing your stroke width until all of your text is covered. Yous want it to be as thin as possible while still concealing every alphabetic character. You may take to accommodate your masks using the arrow tool.
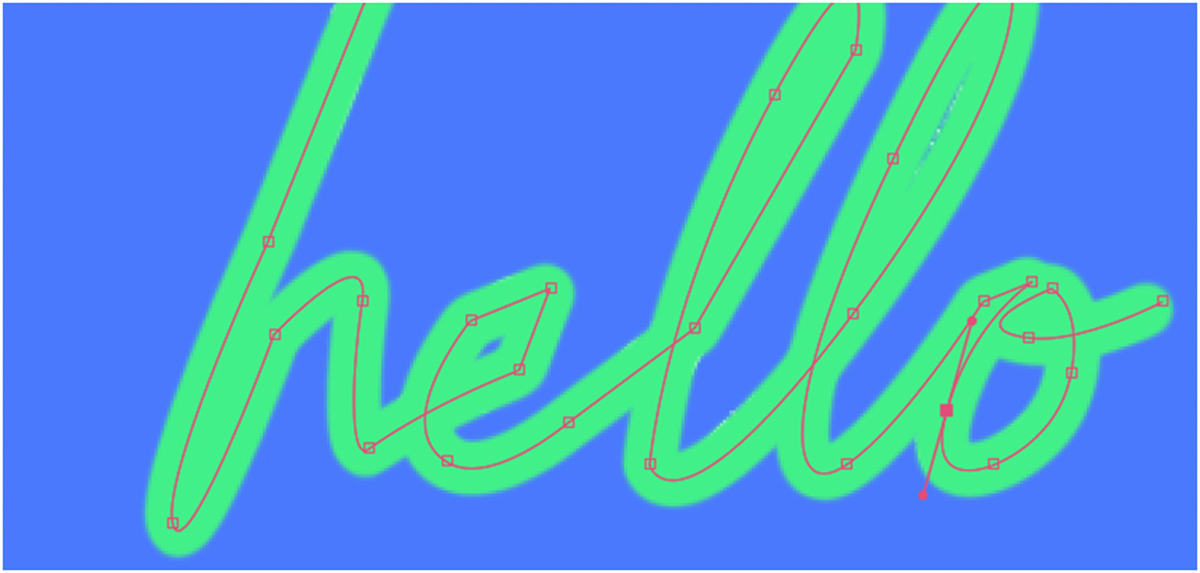 Increase the stroke width until the text is completely covered.
 - Ready the pigment style to "reveal original image". Then, add your keyframes.
One time your mask path looks good, change this setting in the effect window. In the timeline, prepare "End" to 0 and hit the stopwatch. Then, move the playhead to the point in your limerick where you would similar the text to have completed drawing on. Blazon "100" into Cease.
 In this example, the drawing begins at the showtime of the composition and finishes around 4 seconds later on.
 - Optional: Edit the paths to remove any unwanted "limbs".
Yous may notice that letters with intersecting pieces that create tiny bumps I like to call "limbs". Sometimes, this problem can be fixed by using more authentic masks and a thinner stroke width.
If the problem persists, it might be helpful to intermission problematic letters into split segments. Convert your text to a .png and save the principal stem of the letter from the limb office—for instance, separating the cross from the stalk of the T or breaking a B into a stick and 2 bumps. It might be boring, but for short words that simply incorporate a few letters, the divergence is worth the added time.
- You lot're washed! Write on!
Afterwards following these quick steps, you should have completed the tutorial. Drag your playhead to the start of the timeline and press the spacebar to preview the animation.
You tin create a clean transition by having the text write off, likewise. If you lot would similar the text to draw off from left to right, use "offset" keyframes from 0 to 100. If you would similar the text to describe off from correct to left, like I practise below, use "stop" keyframes over again in reverse, from 100 to 0.


Source: https://makeitcenter.adobe.com/en/blog/text-draw-on.html
Posted by: johnsonquablosom.blogspot.com
0 Response to "How To Draw A Line In After Effects How To Draw A Line In After Effects Stroke"
Post a Comment